


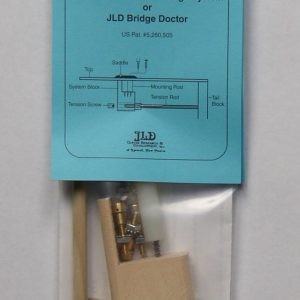
Installing a JLD Bridge Doctor to an Ovation Ultra six-string acoustic
The two main issues to consider when fitting a JLD Bridge Doctor to an Ovation acoustic guitar are:
- The Ovation Ultra has no “heel” within the body for the dowel tension rod to push against.
- There is bracing underneath the whole of the bridge area which runs in line with the neck and is narrower than the width of the wooden finger that protrudes from the Bridge Doctor (BD) system block.
Our solution makes use of:
- One of the bolt holes that secures the bridge to the top.
- The existing hole within the body that houses the strap button at the bottom of the guitar.
Remove or slacken-off the strings completely before starting the work. Other than as described below, fitment is as per a standard installation.
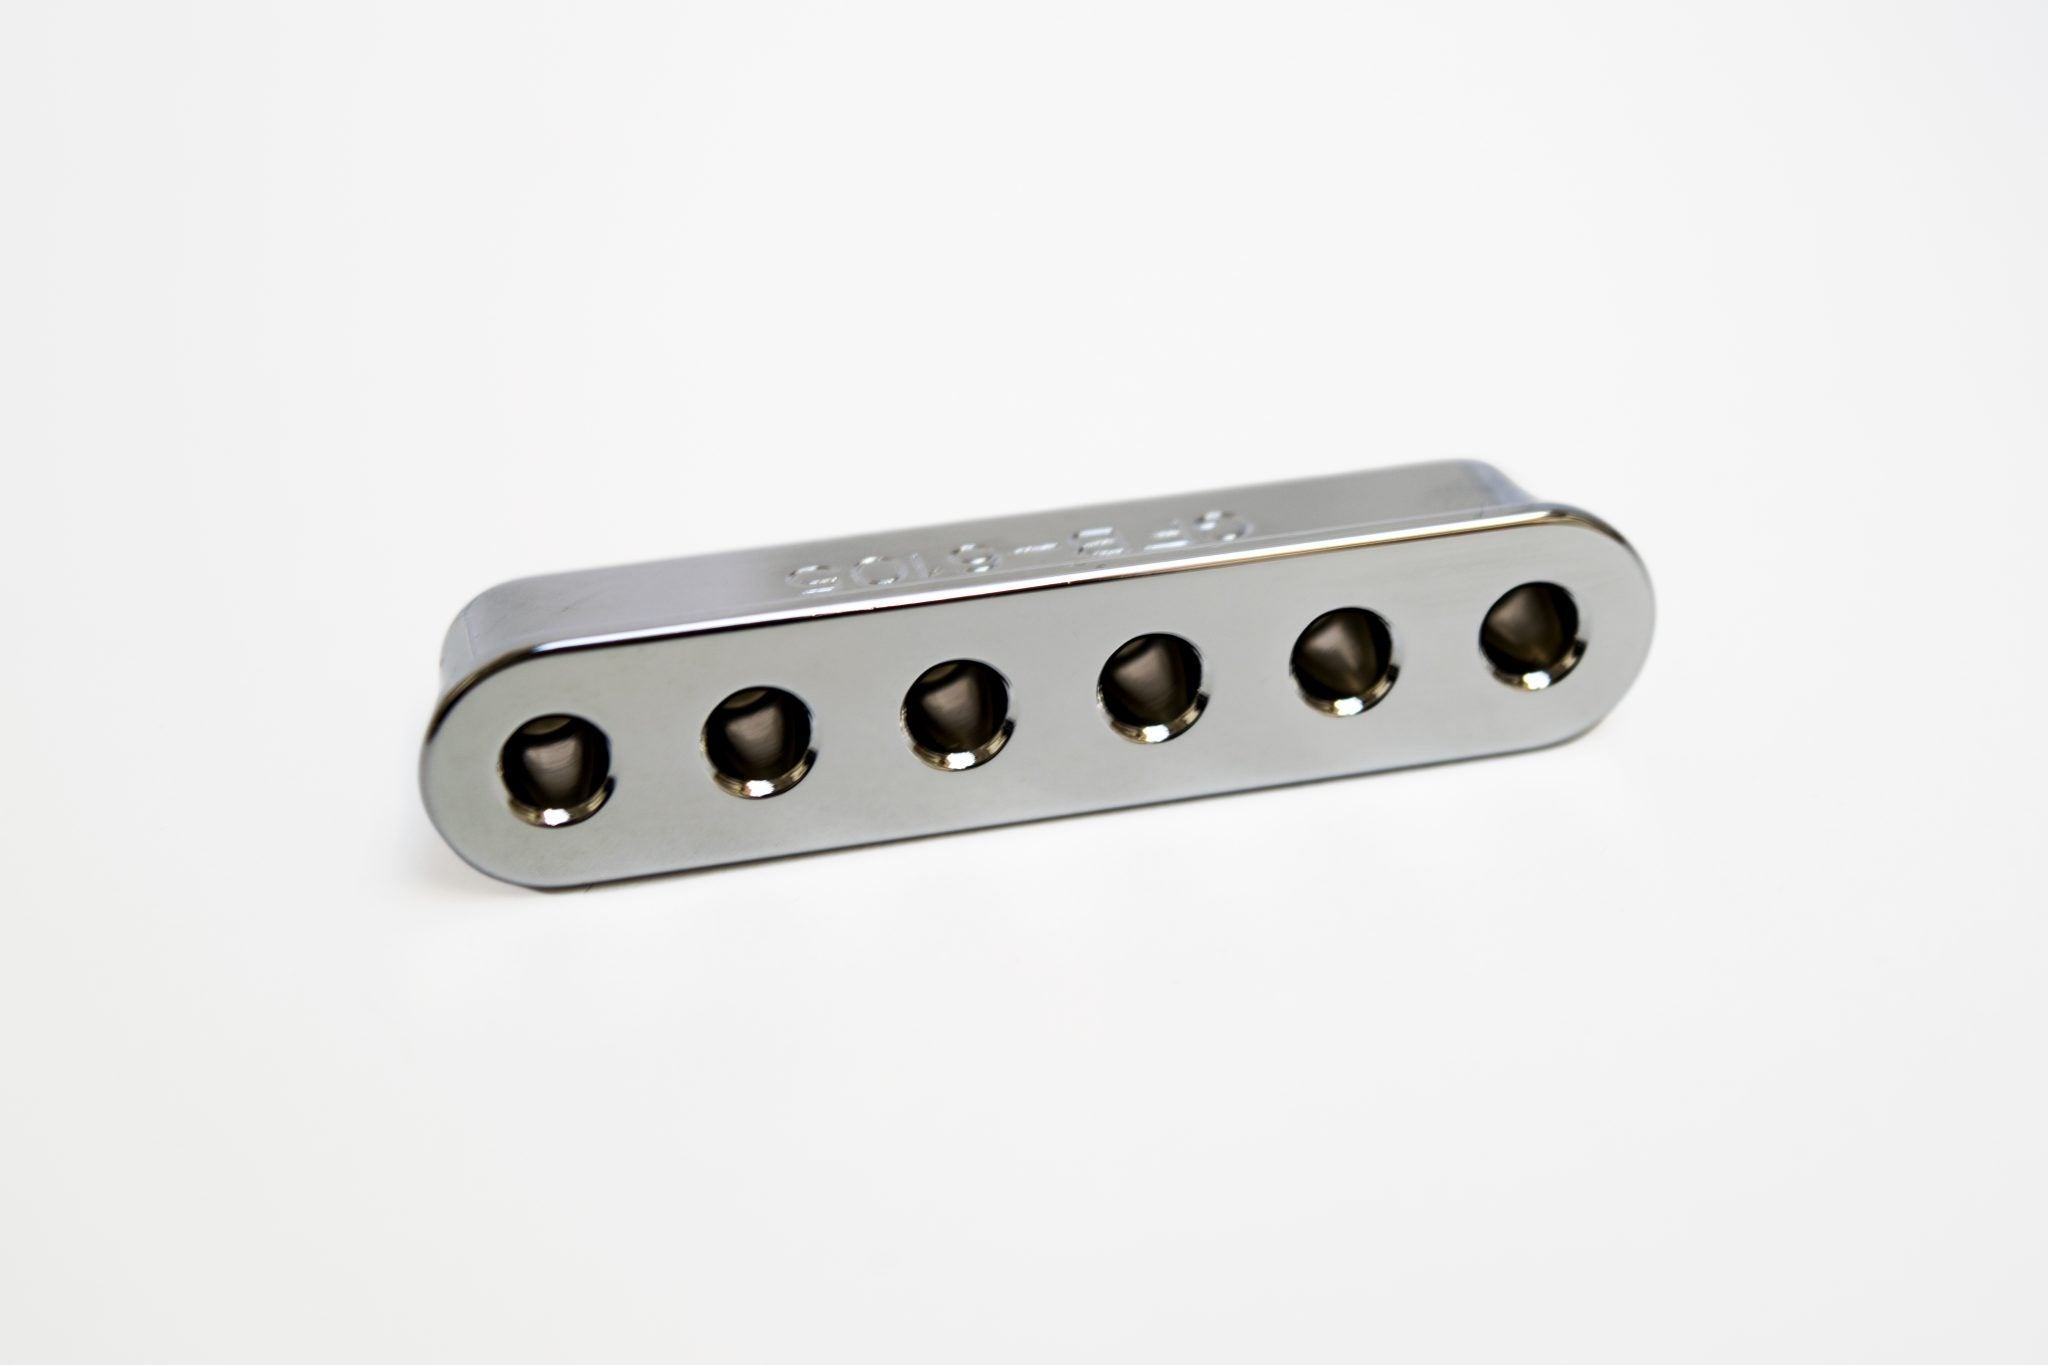
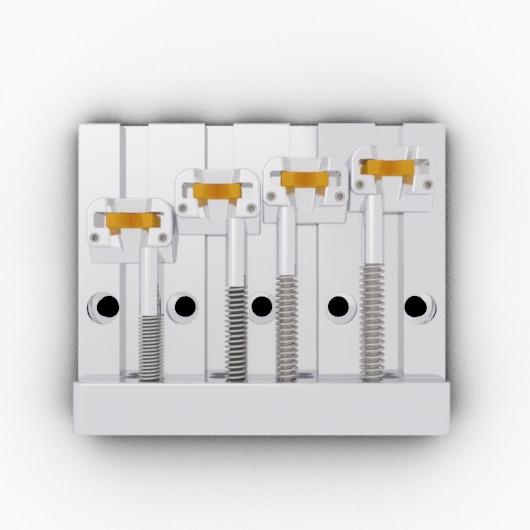
Installing the System Block
There are two pearloid inlays that cover the heads of the two bolts that secure the bridge to the top. Use your ¼” lip and spur drill bit to drill-out the one which is sited between the “G” and “B” strings.
Remove the exposed bolt using a screwdriver and socket/spanner (on the nut under the soundboard).
Measure the height of and the distance between the bracing under the bridge. Then shave-down the top of the BD protruding wooden finger under it will just fit in-between.
If necessary, widen the existing bolt hole to take the BD bolt.
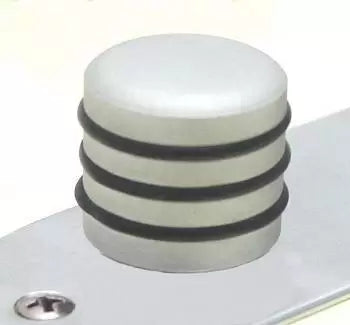
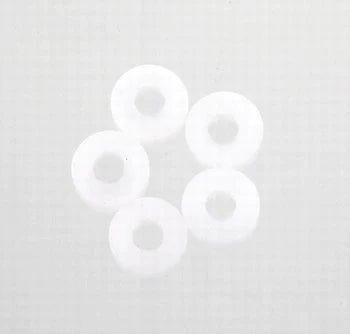
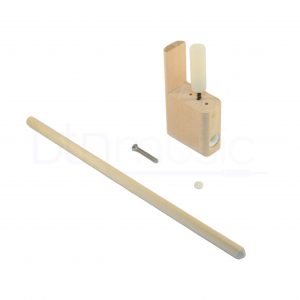
Secure the plastic mounting post within the guitar.
Replicating the Tradition Heel Block
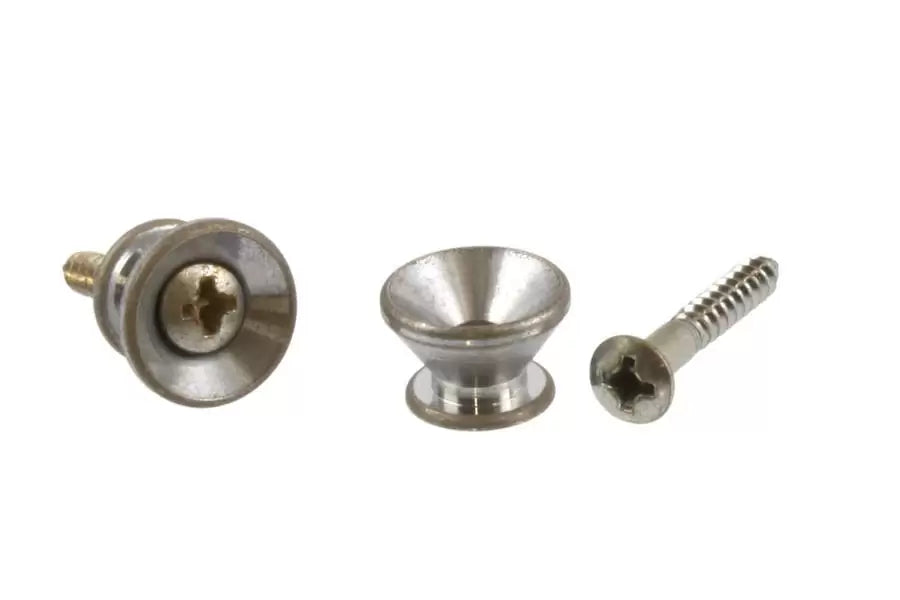
Remove the existing bottom/lower strap button – This is probably easier said than done. Ovation guitars use a deforming fitment on the inside of the guitar bowl. To fully remove the bolt that secures the strap button, you may have to grip the fitting within the body of the guitar to prevent it from rotating. You will need either long pliers or very thin forearms!
Once the bolt securing the strap button has been removed, the three fingers that the residual fitment uses to grip onto the plastic guitar bowl will need to be pushed back inside the guitar and the fitment then removed completely. A bit of patience and you should be ok.
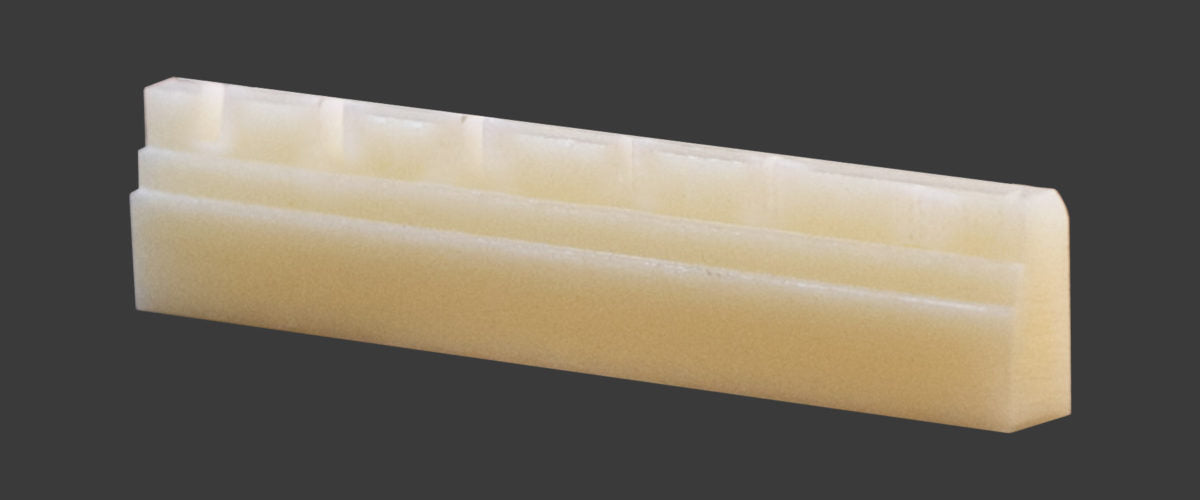
Fashion a block of wood approximately half an inch thick, five inches long and three inches wide. (The exact dimensions will depend upon whether you have a deep or shallow bowl model guitar.) Affix to this some soft cushioning rubber or foam over the whole of one surface to a depth of about half an inch.
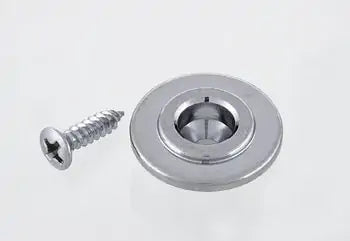
Using a larger diameter traditional strap button and appropriate length screw (possibly in conjunction with a washer and some felt padding), working through the existing hole in the bottom of the instrument, secure the fabricated wooden block such that the rubber/foam is sandwiched between the block and the guitar bowl.
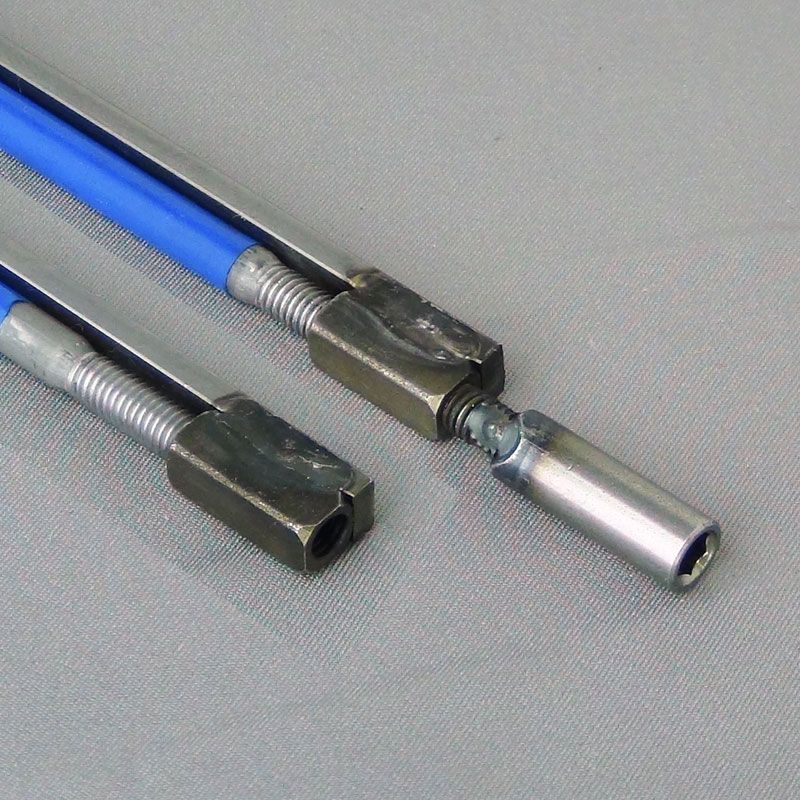
The exact positioning of the wooden block needs to be such that; the block is properly secured by the above screw, the longer (5”) edge runs parallel to the guitar top and the dowel tension rod can contact the fabricated block with at least an inch of play below it.
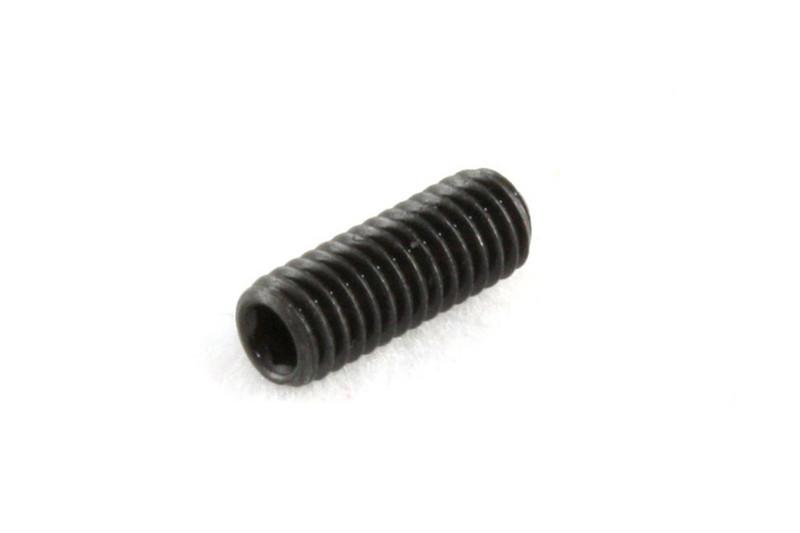
Always ensure that the dowel tension rod remains in contact with the fabricated wooden block. Once you have set up the whole of the BD system, DO NOT OVERTIGHTEN THE GRUB SCREW! Over-tightening the screw can potentially risk tearing the soundboard away from the plastic bowl.
Neither BTN Music Ltd. nor any of its affiliates can accept any liability whatsoever for any damage or injury that may arise from persons taking any action as a result of the above narrative.